
How to Remove Bad Smell From Your Microwave & Oven
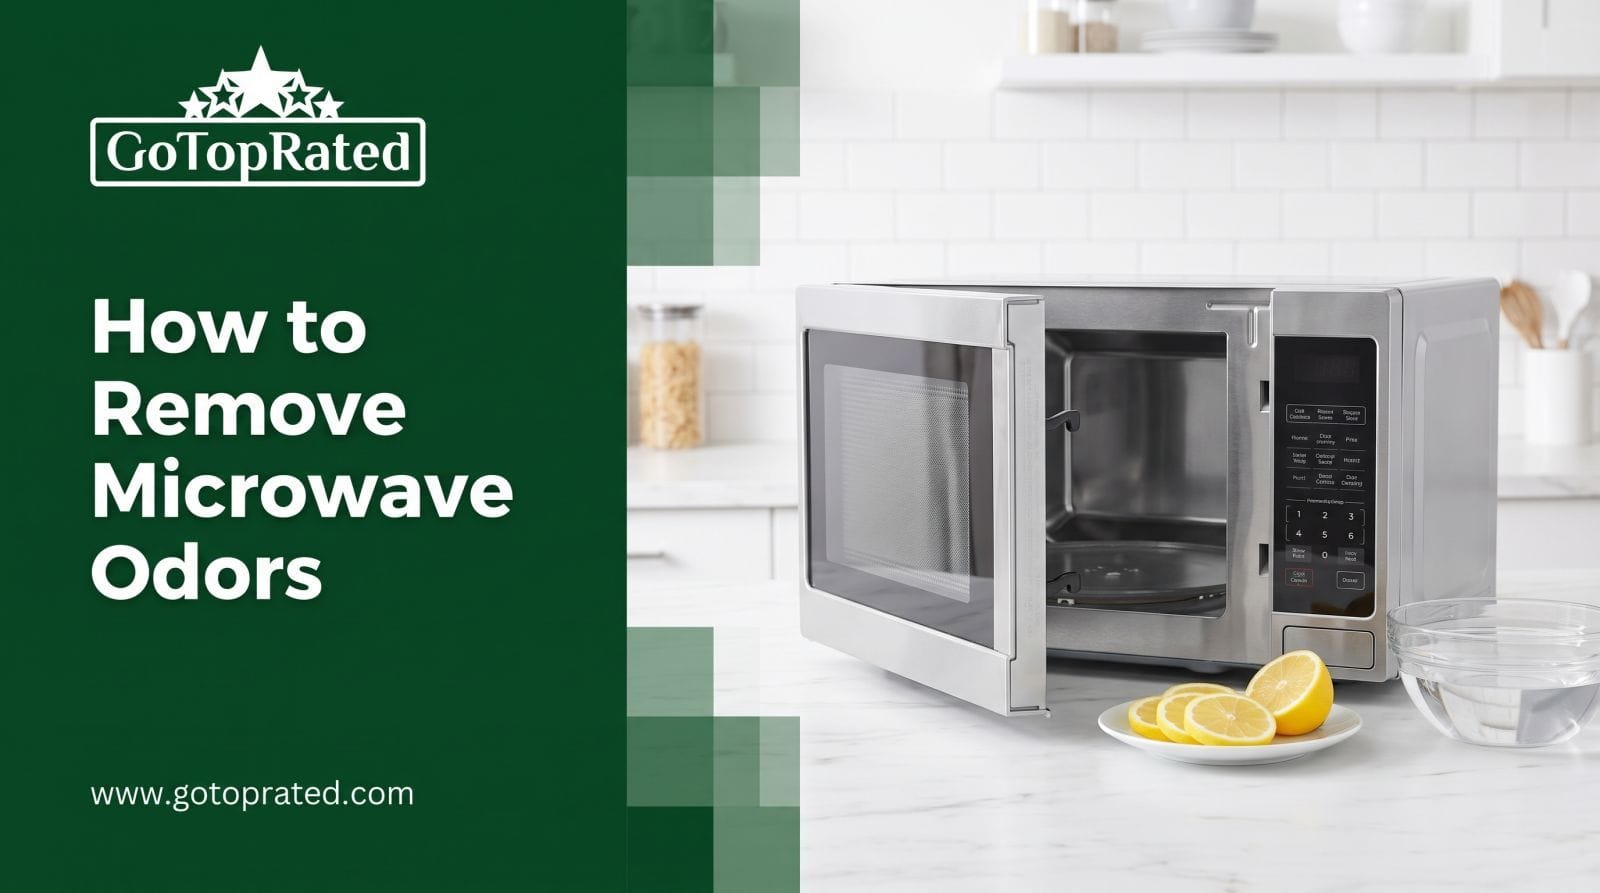
You pop something in the microwave for a quick reheat, open the door, and get hit with a stale, burnt smell that has nothing to do with what you just cooked. Worse, that trapped odor has a way of tainting whatever you're heating up next, turning a quick meal into something that just doesn't taste right.
The good news is this is one of the easiest kitchen problems to fix, and you don't need harsh chemicals to do it. This guide walks through simple, natural methods to get your microwave and oven smelling fresh again in about 15 minutes.
Why Odors Get Trapped Inside Kitchen Appliances
Understanding why the smell lingers makes it a lot easier to actually get rid of it for good.
- Humidity inside a closed appliance creates a damp environment where odor particles cling to interior surfaces rather than dissipating
- Baked-on grease splatters on interior walls trap smoke and food particles permanently into the surface unless properly cleaned, releasing a faint burnt smell every time the appliance heats up again
- Uncleaned door rubber gaskets absorb grease and moisture over time, becoming a hidden odor source that's easy to overlook since it's not immediately visible when you glance inside
Closed, enclosed spaces are exactly where smells get trapped and recirculated rather than clearing out on their own — a similar principle to how odors can linger and recirculate through a home's ventilation if the AC system isn't managing airflow properly. Keeping trusted AC repair services in mind for your home's broader air circulation is worth considering if kitchen smells seem to drift and linger through other rooms longer than they should.
Step-by-Step Natural Fixes for Microwave Odors
Here are three simple, chemical-free methods that tackle different aspects of the problem.
Method 1: The Lemon & Steam Method
- Slice a lemon in half and place both halves in a microwave-safe bowl filled with about a cup of water
- Microwave on high for 3–5 minutes, until the water is steaming and slightly boiling
- Leave the door closed for another 5 minutes, letting the steam continue loosening baked-on grease
- Open the door and wipe down the interior walls with a clean cloth — the softened grime should come away easily
The steam loosens stubborn residue while the lemon's natural acidity neutralizes lingering odors at the same time, making this a genuinely two-in-one fix.
Method 2: The Baking Soda Deodorizing Bowl
- Fill a small, open bowl with plain baking soda
- Place it inside the microwave (unplugged, obviously not running) and leave the door closed overnight
- Baking soda naturally absorbs odor molecules from the air inside the enclosed space rather than just masking them
- Remove the bowl in the morning and give the interior a quick wipe-down
This method works particularly well for stubborn, deeply set-in burnt smells that a single cleaning session doesn't fully resolve.
Method 3: Cleaning Door Seals & Filters
- Check whether your microwave has a charcoal exhaust filter (common in over-the-range models) and remove it according to the manufacturer's instructions
- Some charcoal filters are washable and can be rinsed and air-dried; others need replacing periodically since they can't be effectively cleaned
- Wipe down the rubber rim around the door opening thoroughly, since grease and grime tend to hide in this seam and go unnoticed during a standard wipe-down
- Use a cotton swab or small brush to reach into tighter corners along the door seal
This step targets the exact areas most people skip when cleaning, which is often why the smell keeps coming back despite regular interior wiping.
Deep Deodorizing Built-In Kitchen Ovens
Built-in ovens accumulate tougher, more baked-on residue given how much hotter and longer they typically run compared to a microwave. Here's how to tackle a proper deep clean:
- Mix baking soda with a small amount of water to form a thick, spreadable paste
- Apply the paste generously across the interior oven walls, avoiding heating elements, and leave it overnight
- In the morning, wipe away the dried paste with a damp cloth — it should lift most baked-on grease along with it
- Follow with a spray of white vinegar directly onto any remaining residue, which reacts with leftover baking soda to help lift stubborn spots
- Wipe the entire interior down once more with a clean, damp cloth for a genuinely fresh, chemical-free finish
This overnight method handles buildup that a quick daily wipe simply isn't strong enough to remove.
What NOT to Do When Cleaning Ovens
A couple of common shortcuts can actually create bigger problems than the original smell:
- Never use harsh chemical oven sprays inside a microwave — these products are formulated for conventional ovens and release toxic fumes when heated, which is exactly what happens the next time you run the microwave after using one; stick to natural methods specifically for microwave interiors
- Avoid abrasive steel wool or scouring pads on appliance interiors — these scratch non-stick linings and interior coatings, and once scratched, those surfaces trap grease and odor even more easily than before, making the underlying problem worse over time
Sticking to soft cloths and natural ingredients protects both your health and the appliance's interior finish.
Conclusion
A smelly microwave or oven is one of the most satisfying kitchen problems to fix, since a bit of lemon, baking soda, and vinegar handles almost every case without needing anything harsh or expensive. Making these natural cleaning methods a regular habit, rather than a once-a-year deep clean, keeps your appliances smelling fresh and your food tasting the way it should.
If your appliances need more than a natural refresh, or you're dealing with buildup that's gone beyond a DIY fix, don't keep living with the smell. Head over to GoTopRated to find top-rated, professional home and appliance cleaning specialists in Dubai who can get your kitchen properly fresh again.